Using AI powered transcription for on-site participants
See our video tutorial for a quick overview.
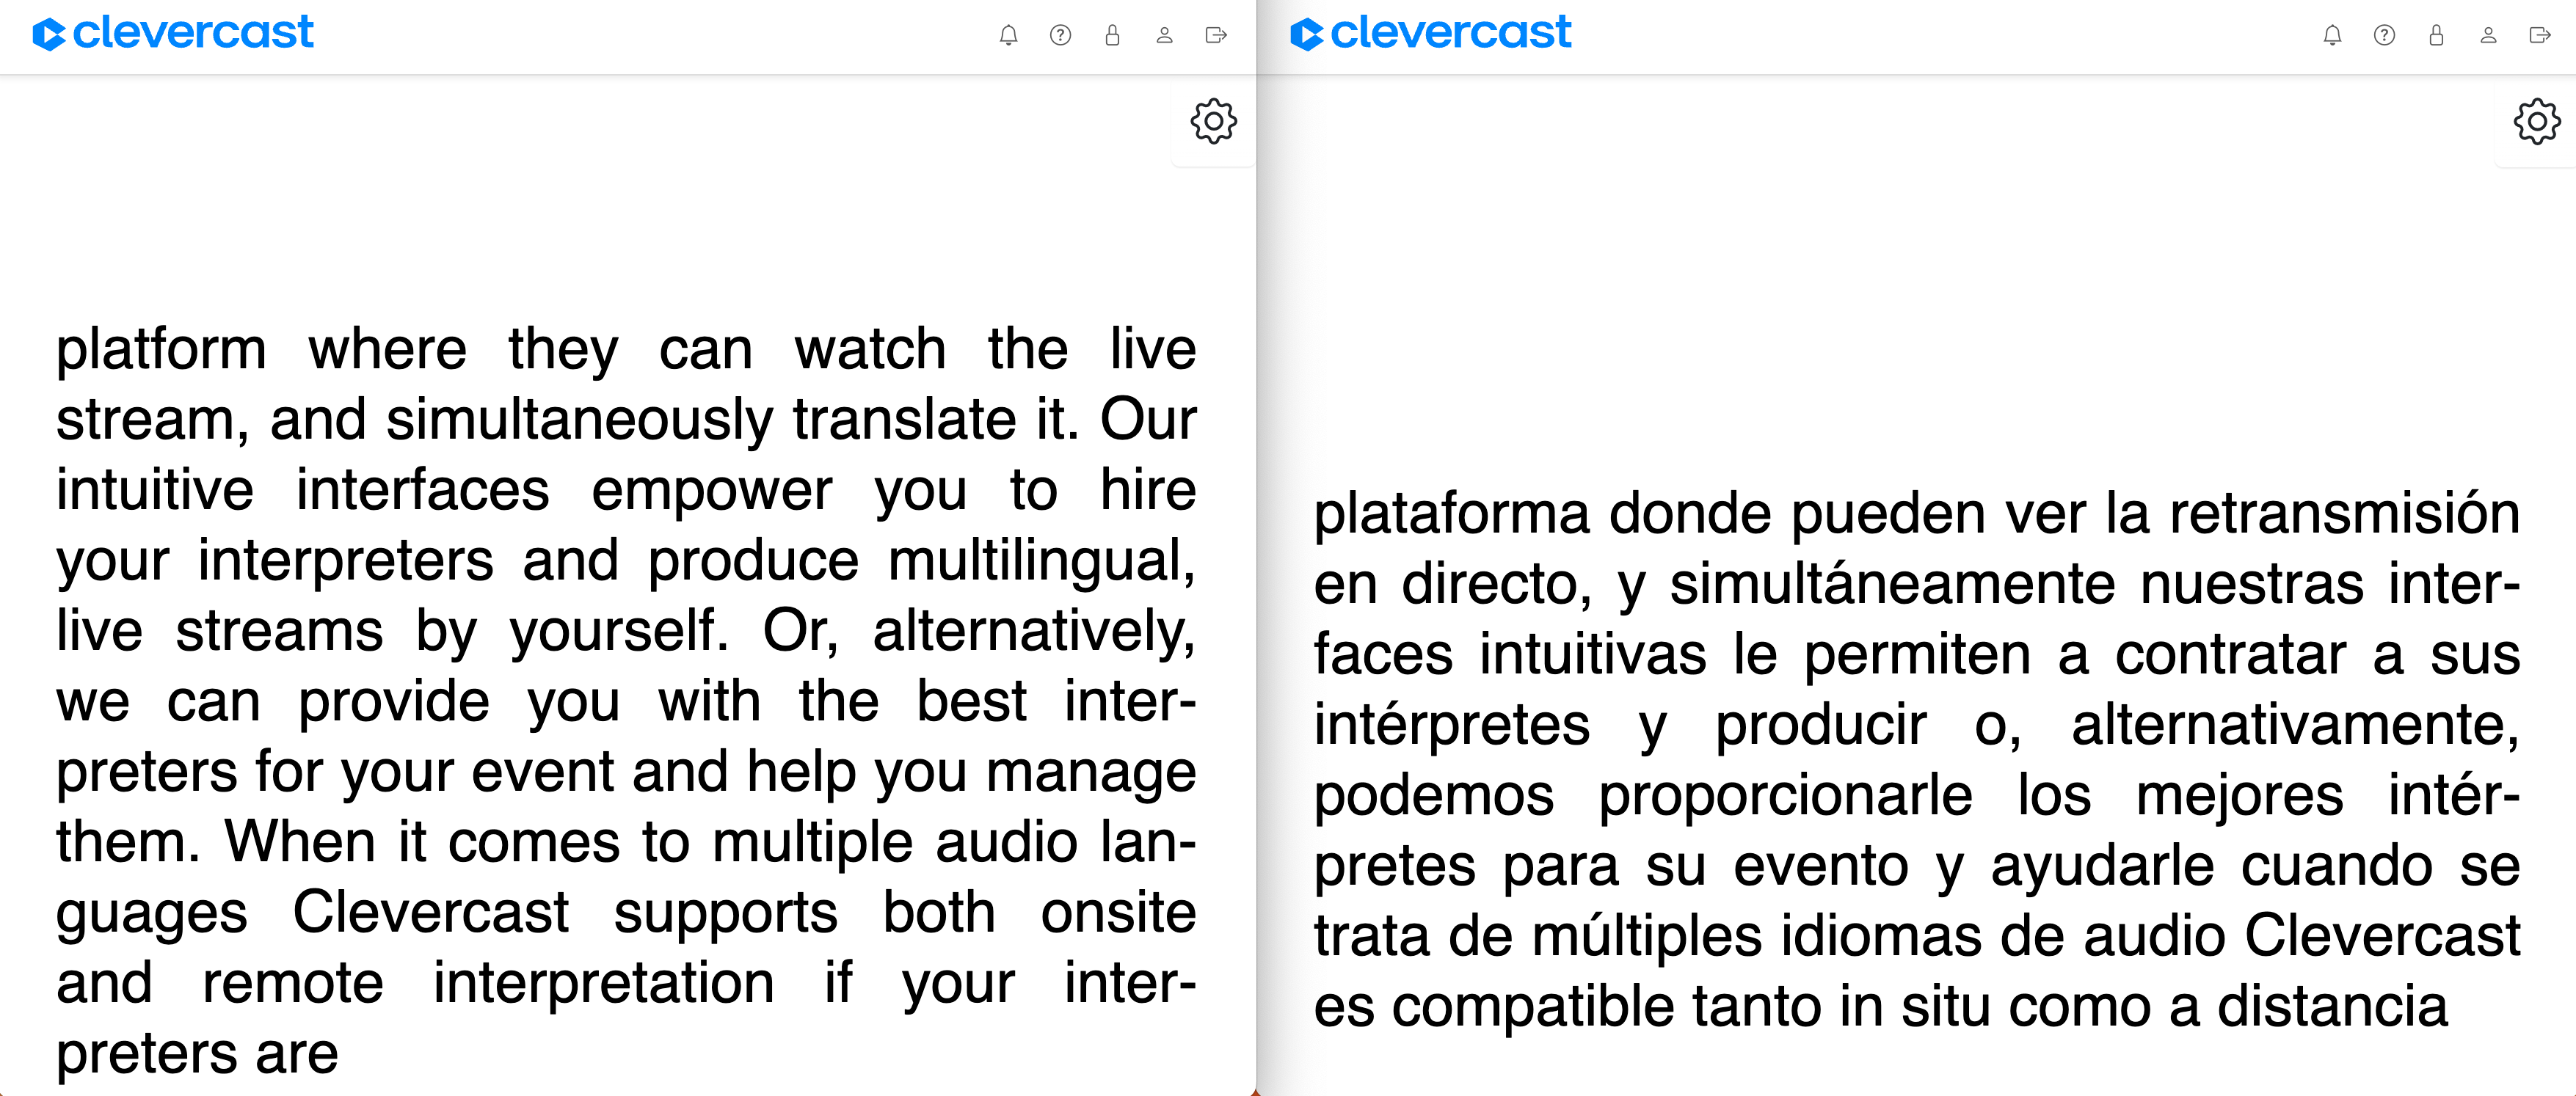
This tutorial explains how to use Clevercast to generate (a) real-time scrolling transcript(s) for on-site usage by event participants (eg. show it on a large screen, read on mobile devices). This can be combined with a live stream in an embedded video player, containing multilingual closed captions and audio translations.
This tutorial is limited to what is needed to set up real-time transcription for on-site usage. See our other tutorials to combine this with a live video stream with AI powered closed captions and audio translations.
This tutorial applies to enterprise and webinar plans. Skip step 1 for webinars, since an event is automatically created when you create a webinar.
1 Creating an event
Select the Live > Events menu. On the events page, press the Create Multilingual Event button in the sidebar. In the popup dialog, enter the following info and press Create:
- an event name (for your own information only)
- select one of the broadcast protocols with support for AI.
- select the origin of your broadcast
- select the Default Language. This is the language being spoken in the live stream.
- keep the Default Latency setting, which is optimized for on-site captions (Low Latency is less so).
2 Configuring the event
When you've pressed the Create button, Clevercast creates the event and redirects you to its detail page.
To enable real-time transcription for an event, go to the 'Caption Languages' tab of your event.
- Change the 'Provide real-time scrolling transcript' setting to 'Yes'.
- Add the speech-to-text language.
- Optionally, you can add extra languages that will be automatically translated.
- Optionally, consider adding an AI Vocabulary containing terms (names, acronyms, industry jargon, technical phrases ...) that may appear in the live stream, so they will be correctly converted from speech to text and translated.
A 'Real-time Transcription' panel will appear on the bottom of the 'Caption Languages' page, which contains the links to page(s) with the real-time transcript for each caption language. Distribute the transcript links to your on-site production team and/or event participants.
3 Test broadcast and transcript
Configure your encoder by using the settings on the Broadcast tab and our broadcast guidelines.
When you are ready to test, go to the Management tab and set the event status to Preview by pressing the Set to preview button. This is required for your broadcast to be processed.
Start your broadcast.
Go to the 'Caption Languages' tab. In the 'Real-time Transcription' panel on the bottom of the page, click on 'On-site production'. A new page will open, on which the transcript text will start to appear once Clevercast starts processing your broadcast.
You may try to customize the look and feel of the scrolling transcript via the cog wheel in the top-right corner of the page.
4 Starting the live stream
Note that the transcription for on-site participants will only start after the Clevercast event is set to Started.
When the event is about to start, go the Management tab and press the Start event button. If you are also providing a live stream, we recommend to start the event at least four minutes before the live action begins. When you start the event, Clevercast also records the live stream. So, starting the event in time also ensures that the cloud recording is complete.
As long as you are broadcasting to Clevercast and the event is Start event, the transcription will remain available.
5 Stopping the live stream
When the live action ends, set the Clevercast event status to Ended, by pressing the Change Event Status button and selecting End event. This will stop the transcription.
If you are also providing a live stream, we recommend to wait at least 4 minutes before doing this (see closed captions tutorial).
Clevercast automatically completes the cloud recording and converts it to an MP4 file. You can download it via the Events > Recording menu. If your plan includes VoD, you can publish the recording to Video on-Demand.
